Electric bilge pump
When I bought the boat, she was fitted with three bilge pumps:
i) a small electric bilge pump that also featured as a shower drain pump (not automatic).
ii) a manual bilge pump operated from the cockpit.
iii) a high capacity engine driven pump.
These are all good, there were two issues
– none of the pumps detected water and started automatically.
– the high capacity pump relied on the engine and a fouled prop that stopped the engine would it out of action.
I wanted the highest capacity automatic installation I could detect. Remember
the failure of a 2 inch seacock one foot below the water line will flood the boat at 300 litres per minute.
Considerations
Before you go ahead considering the following
- Pump capacity: I went for the highest capacity that would fit in the space available while also taking into account the diameter of the outlet hose.
- Routing of the outlet hose. Do not overlook this.
– ideally you need to keep the height of pumping (the head) to a reasonable height and well above the waterline.
– smooth bends, no kinks and as short a route as possible.
– in my case the hose outside diameter (OD) was 44mm so the routing was particularly tricky.
– avoid using a non-return valve as this will severely restrict the flow. - Automatic Switch or float switch: there are many to choose from so look around. I went for one recommended by Nigel Calder, the Ultra Pumpswitch. Ultra Pumpswitch
- Mounting the pump and float switch: you need to be able to access the pump and possibly remove easily for cleaning.
- Wiring: ideally you should power the pump directly from the battery via the level control (“float”) switch and float switch and avoid routing the wiring directly in the bilges (of course the wires to the pump and float switch have to go there). Again Calder’s guidance is very practical
Installation
Wiring
Following Nigel Calder’s I advice and ran positive and wires via a fuse to a negative bus bar and a positive fuse bank. I am fortunate that DragonII has built in cable conduit runs, although being tightly packed already, adding more cable was bit of a challenge.
The switch to the pump was mounted in a prominent position so when tripped automatically the light would be visible and it has a loud audible alarm. It is a good height above the bilges.
Pump
The pump is powerful and needed to be securely mounted. I wanted to be easily remove it and so my plan was to mount it on a board that could slide in and out of the bilge. While this sounds easy, that was not the case. I used two perspex sheets held together with two purpose made stainless steel brackets. Figuring out the shape of the perspex was tricky, even with a cardboard template, as Dragon II’s bilges are deep and narrow towards the bottom. The fact that that all the work was done on the boat without a “workshop” made it doubly difficult.
Float switch
This was relatively easily mounted on the same boards as the pump although it was a bit of a tight fit due to the narrowness of the bilge.
Hose routing
Frankly this was a real a pig. The Malo is built like a tank and routing large hoses through bulkheads was testing. I used both a Bosch multi cutter and a powerful drill fitted with a 48 drill bit. Be prepare for this to take longer than you would like. Once installed don’t forget to use 2 good quality SS jubilee clips on every hose fastening
Issues/Upgrade
I really wanted to the pump fitted to address a safety concerns. However it does need modifying. The float switch needs raising because in auto mode the pump cycles, that is when the pump switches off, the volume of water in the hoses flows back into the bilge and trips the pump.
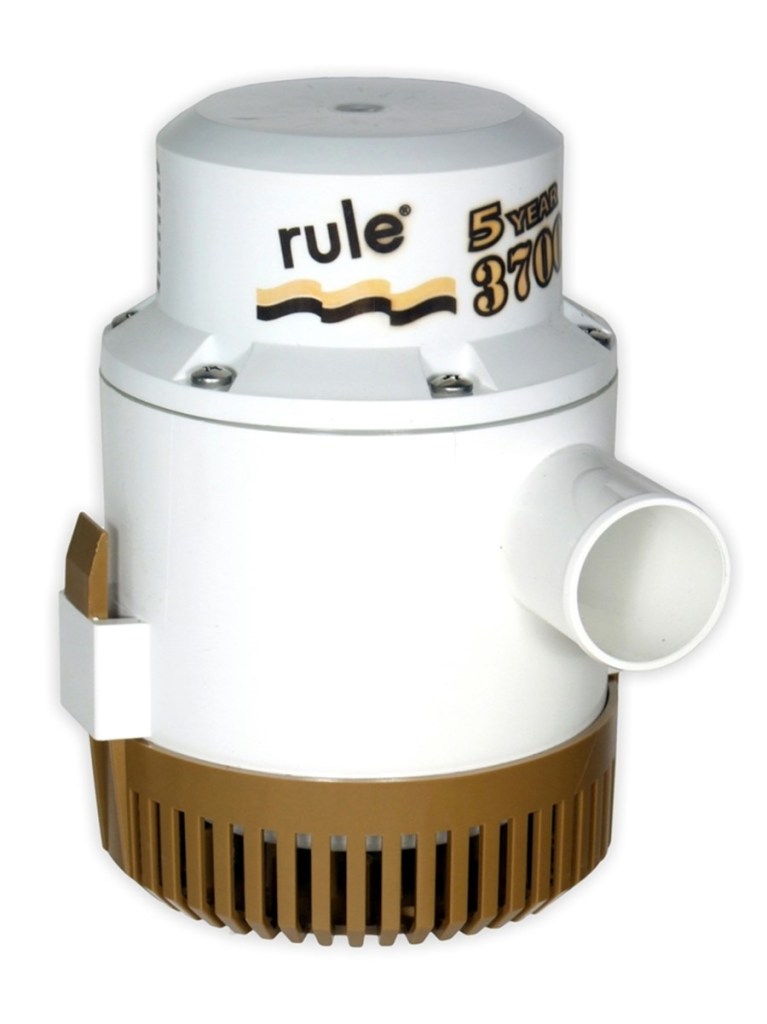
Details of Rule 3700 Gold series submersible
Weight: 2.81 kg
Connections for 38mm ID hose
180mm high, 135mm base diameter
Fuse size 20 amp
Output upto 230 l/min.
Maximum discharge head 4m
Quick release inlet strainer allows rapid cleaning
Motor rated 2500 hour life
Ignition protected
